Robot Challenge 1
This challenge begins by giving us instructions on how to build our robot with the given parts. After building and correctly wiring the robot, we have to create a program that has the robot move forward 4 feet while staying within a path that is 2 feet wide. We are also told to create a flowchart for our code, record the successful attempt, and document our process.
Day 10/29
Building the Base of Our Robot
Our team started small. Our only plan for the first day was to build the skeleton of our robot from the parts we were given in class. This included many pieces for the robot body, ping-pong balls for movement, a battery pack, two wheels, and two motors we provided from our Sparkfun Kit.
Once we attached everything using hot glue and Velcro, we called it a day since we still needed our breadboard and Arduino Uno to finish our SF before we could add it to the robot.
Day 11/5
Finishing Challenge 1
Today we needed to finish the rest of the project since it was due tonight. This meant we had to add the Breadboard and Arduino Uno to our robot, add all the wires, create a code that made our robot move forwards, and lastly figure out how long we needed to run the code to move four feet forwards.
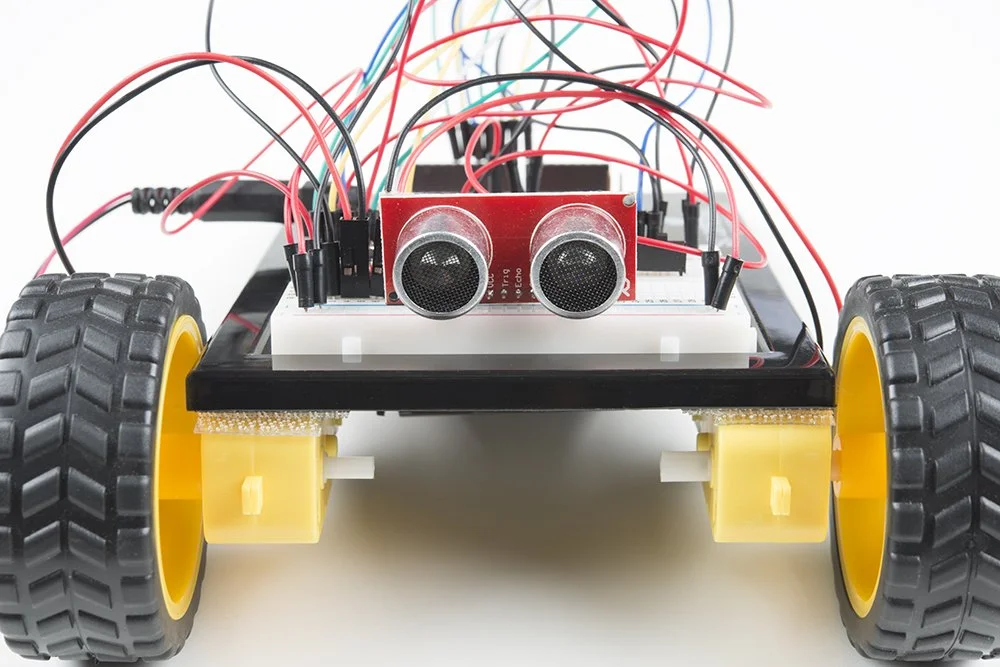
Above is our robot right after gluing the Arduino board and Breadboard
Next we decided to split up. I was assigned the job of wiring the robot while my partner created a code to make the robot run forwards. I used the wire diagram provided to help me wire the robot, so it only took about 5 minutes to wire, Since I finished before my partner I decided to move on to the next part of the challenge.
Finalized Flow Chart for our code
Above is our robot successfully completing the challange
We started the day by working together to remove our Breadboard and Arduino board from their original holder. We needed two sets of hands for this part because the adhesive was far stronger than we had expected, but we were able to successfully remove these boards and glue them onto our robot (see the picture to the left).
Above is the final design of our robot
To the left is our Flow chart that we used to help us understand what we were trying to code. Since I finished my job early, I decided to move on to creating the Flow chart so we wouldn’t have to worry about it later.
Challenges
Luckily for us this challenge went by pretty smoothly. Our only real problem that came up was that our robot must not be balanced causing it to turn left when we don’t want it to. Since this challenges course was short and wide it didn’t seem to pose a real issue, but it will likely come back to bite us in the future challenges.
and
Finalized robot
Reflection
We learned a lot during challenge one; we did an excellent job when it came to building the robot and making sure the code worked; our one struggle did come with trying to keep the robot on a straight path while it was running. However, we were able to fix it by tightening the screws on one of the wheels, when it came to our teamwork, we worked very well together, and we found it easy to split up tasks to the point where everything got done in the most efficient way possible.


